Dissasembling a Goat
ENGLISH VERISON AT THE END - They are different, but same content over all
DEUTSCHE VERSION:
Anmerkung: Unser Mäher ist hell grau und weiß, das verlinkte Modell ist dunkelgrau. Ich nehme an, dass die Mäher sonst baugleich sind.
Vor ungefähr einem Jahr hatten wir uns entschieden einen GOAT G1 von Ecovacs zu kaufen. Als wir diesen am Wochenende wieder auf den Rasen lassen wollten, fiel uns auf, dass die Kommunikation mit den Begrenzungen nicht mehr funktionierte. Also wollten wir die Antenne an dem Mäher austauschen. Hier also ein paar Hinweise, falls jemand die Antenne austauschen möchte oder den Mäher nur auseinander nehmen will. Als Recherche hatten wir ein paar Posts in einem Forum gelesen, dass der Austausch einfach wäre, wenn alle Schrauben gefunden werden.
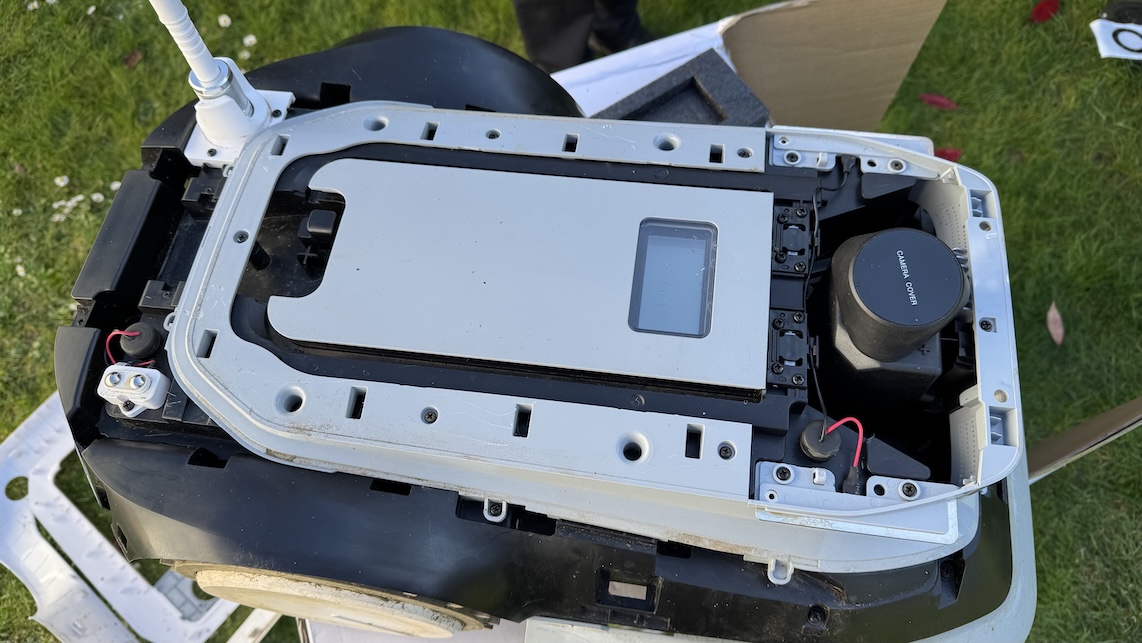
Um die Antenne zu wechseln, muss tatsächlich das gesamte Gerät geöffnet werden, da die Antenne mit einer Gegenmutter festgehalten wird und der Stecker innerhalb des Geräts sitzt.
Dies gestaltet sich jedoch deutlich schwieriger als gedacht. Die hälfte der Teile ist mit Schrauben befestigt, die andere Hälfte mit Clips. Die weißen Plastikteile können nur mit 'Gewalt' entfernt werden, dieses sind nicht verschraubt. Alle grauen Teile sind jedoch mit sehr vielen Schrauben befestigt; sehr sehr vielen Schrauben. Ein Akkuschrauber empfiehlt sich da schon.
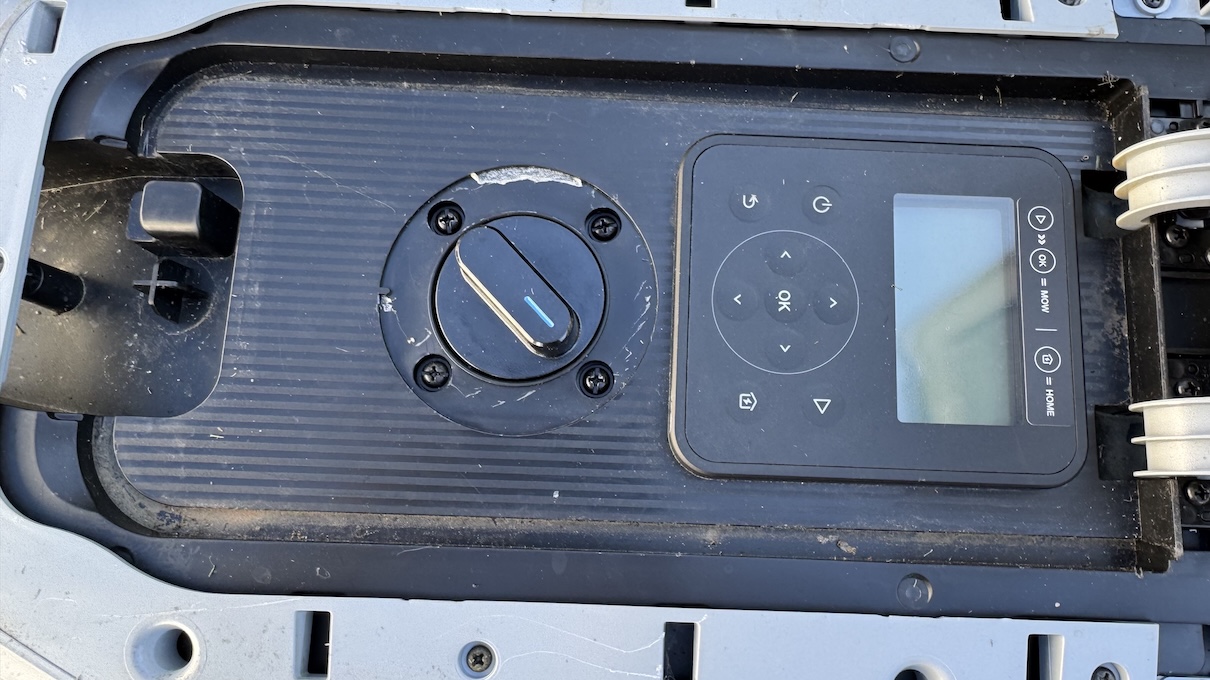
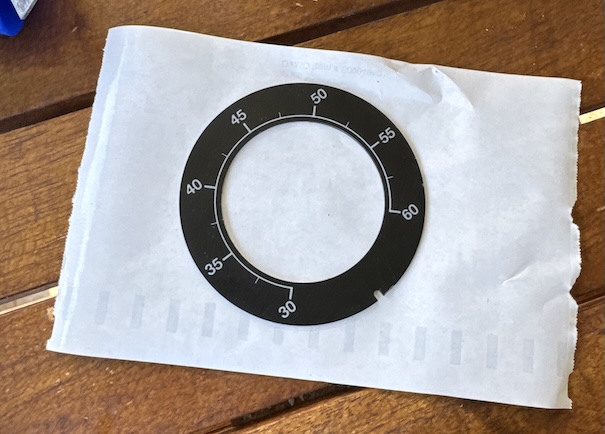
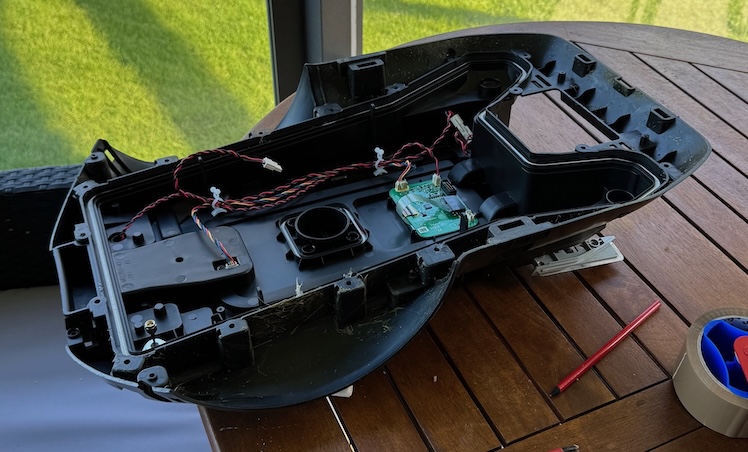
Nachdem so ca. 30 Schrauben entfernt wurden geht das letzte graue Panel immer noch nicht ab. Das liegt daran, dass unter dem Rad zum Einstellen der Mähhöhe noch 4 weitere Schrauben sind (siehe die Fotos). Das Rad/Label ist zwar angeklebt, kann aber entfernt werden. Sobald diese auch gelöst wurden, kann das Plastikteil entfernt werden.
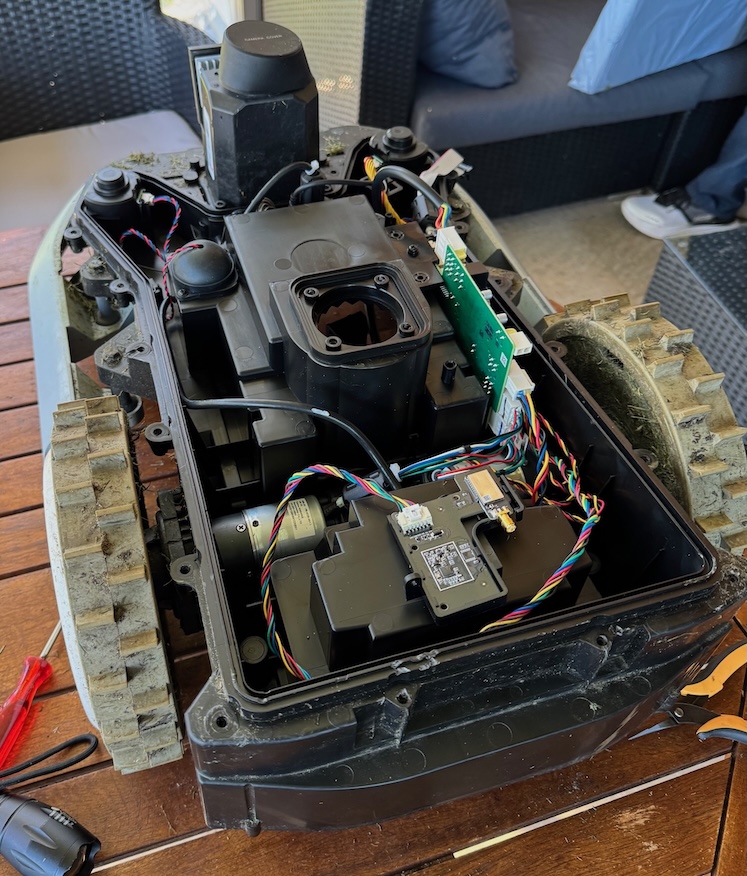
Alle Schrauben lassen sich übrigens von oben entfernen, der Mäher muss also nicht umgedreht werden. Wir haben die Batterie entfernt, damit wir nicht aus Versehen einen Kurzschluss auslösen.
Viel Erfolg beim Schrauben.
ENGLISH VERSION:
A note as I am editing this: The G1 on the website is in white and dark grey, ours is light grey, I assume they are otherwise the same.
No goats were harmed for this (I think)
This is not an ad, this is just the reasoning behind our goat.
Some years ago my parents decided to buy an automatic lawn mower for my grandmother, and my dad had to dig in what felt like 10 kilometres of rope to fence this lawnmower in. The thing was also kinda loud, so last year we decided to replace it with Ecovacs Goat G1. The nice thing about this one is that it has these poles that fence in the lawn, so you don't have to dig a trench around it anymore. It also doesn't randomly drive over the lawn, it mows in a more sorted manner, so you can be sure that it mows all the places. It uses a camera and LIDAR to make sure it doesn't drive into trees, which is important because her (she has a female voice and a goat in German is grammar female) predecessor would constantly beach himself and ram the trees. My grandfather placed the trees by just sorta randomly in the garden, so there is no effective way of fencing them out with the strings. Now the Goat itself has an antenna at the back of it. That is used to communicate with the fencing poles.
So I want to illustrate a scenario that might or might not have happened to our lawn mower. When we placed the mower back in the garden this weekend, we noticed that the antenna was wiggling around, and also sorta looked off. The mower couldn't communicate with the posts, and the posts seemed to be fine.
My dad and I decided to simply replace the antenna on the mower. We did have a replacement already on hand, as my dad had bought replacements for important parts early on. We had read some forum posts online that the antenna could be replaced and my dad said he had 'seen a video on YouTube' about it, wehre 'it looked easy but he was like 30 seconds and done'. With that in mind we started the disassembly.
The process for removing the antenna seems easy: Unscrew the old one, replace with the new one. But this is not that easy. The antenna is secured with a cap, which is under a grey sheet of plastic. Now you can remove the cover if you tilt the antenna like 45 degrees. But then you notice that the antenna is secured from the bottom as well, so you need to reach for that as well. And the plug wehre you need to connect the antenna is inside the device as well. So you do need to disassemble the whole mower.
First: there are a lot of screws in this thing. A LOT. You will make your life easier if you have a power tool.
Second: whilst every second layer is screwed on, the white plastic parts are actually clipped on, so you just have to use violence to remove them from the mover. (A tool like a flat screwdriver might help you with the violence part) Third: You think you unscrewed all screws? No. If the part isn't coming off even though you think you did? You didn't. There are more screws somewhere. And they might be hiding.
I added some pictures on where the last four screws are. You are guaranteed to not find them. I read on a forum that someone just 'crowbarred' the thing open and then did the work through the cracks.
We used an endoscope camera and did the same thing to find the last screws. We didn't. My dad found the last four screws under the dial where you input the height of the blades. You have to rip that off if you want to remove that. Yes, that dial is glued in, but you can remove it. You need to if you want to replace the antenna.
Some last tips:
1. Do not unscrew anything from the bottom of the mower. All the screws you need for this are available by unscrewing/unclipping from the top. You do not need to turn the lawn mower over. You do not need to unscrew flaps on the bottom, I would actually recommend to leave them shut.
2. As a general thing tho: I would recommend removing the battery, to make sure you can't accidentally short circuit the whole thing. During the disassembly process you need to unscrew the metal 'ears' and I would reccomend securing them with one screw again after removing the plastic under it.
3. You do not need to unscrew the rain sensor.
Once you found all screws, the rest isn't that difficult anymore.
If you embark on this mission, I wish you good fortune.
Consider making a sacrifice to the god of screws tho.